
Team — members, roles and invitations
Your Bobi account belongs to a team (your company), not to a single person. In Settings → Team you see your company details, and in Team members you manage who has access — who to invite, what role to give them and how to add more people.
Team details#
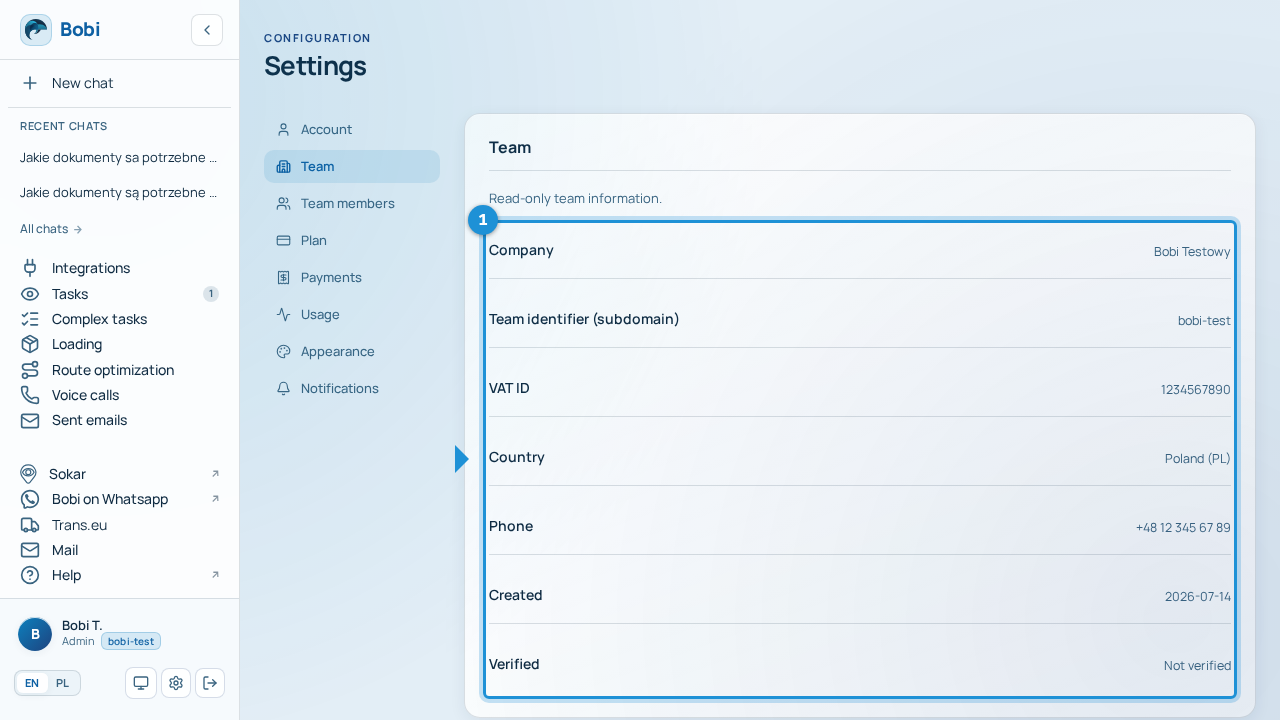
The Team section shows your company details: name, VAT ID, team identifier (subdomain), country, phone and verification status.
Roles and permissions#
Everyone on the team has one of four roles. The role decides what a person can see and change.
| Role | Permissions |
|---|---|
| Owner | Full control over the team: members, plan, integrations, payments. |
| Admin | Manages members and integrations. Doesn't change plan or payments. |
| Member | Standard app user without access to team settings. |
| Accountant | Access only to invoices and billing data. |
Invite someone#
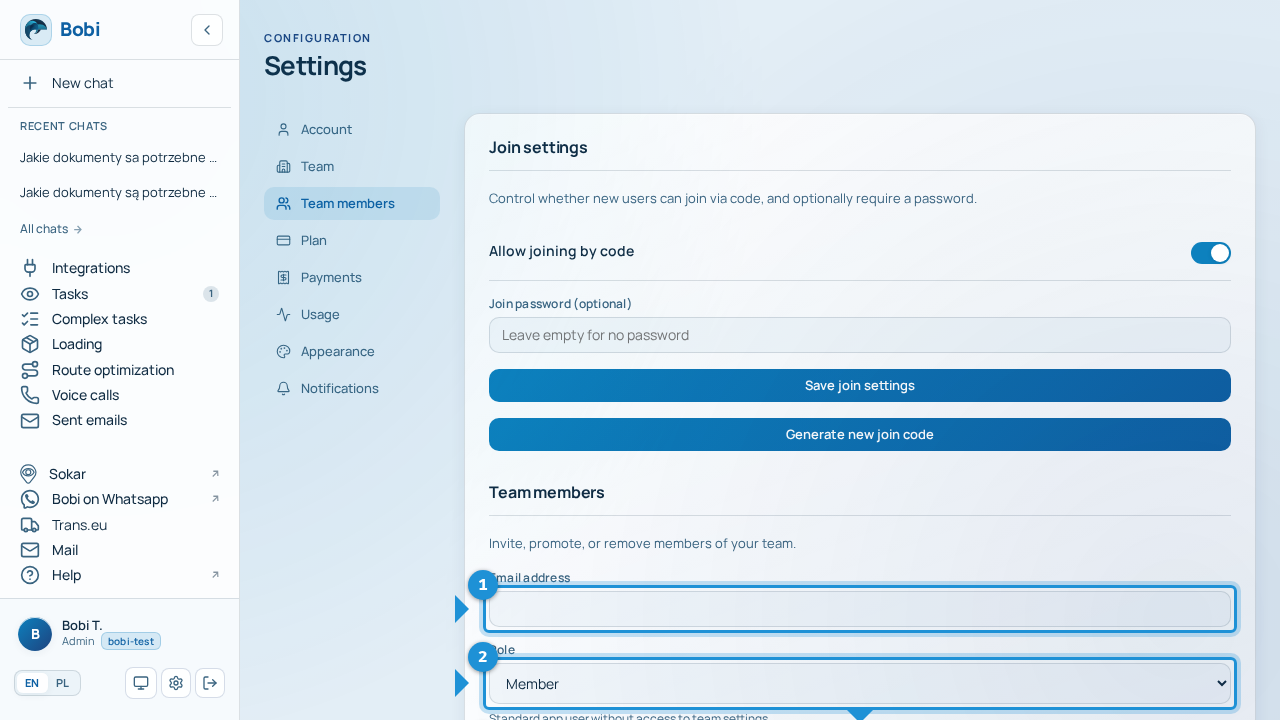
- Enter an email addressType the email address of the person you want to invite.
- Choose a rolePick the new person's role (Admin, Member or Accountant).
- Click “Send invite”Confirm — the person will receive an invitation email.
Joining with a code#
Instead of sending an email, you can give new people a join code — they enter it when signing up or logging in. You can optionally protect the code with a password. The “Generate a new code” button invalidates the previous one.
What the invited person does#
The invited person receives an email with a link or a join code. They sign up or log in to their own account, and after accepting the invitation they join your team — from that moment they appear in the members list. We explain creating an account under Sign up and log in.